Creating and Publishing a People Page
Almost all departmental websites have a People section that profiles Faculty and Staff, and occasionally Graduate Students, Visiting Faculty, Etc.
If at all possible, each person who appears in the People section of the departmental website should have:
- Full name
- Position or title
- A photograph
- Contact information
Past the above four fields, it is up to the department, and the person responsible for creating and editing each profile, to decide what appears on each person’s page. Typically, a department will provide an email form to each person who will appear on the website and have them fill out the fields as best as possible. In addition to basic information, a person appearing on the site can also have their CV and website linked to the page.
While the process of adding people, and their information, can be a daunting task, it is important that great attention is paid to the details in order to ensure a person’s information is presented correctly.
- Step 1: Login to the Departmental Website
- Step 2: Navigate WordPress Homepage
- Step 3: Navigate the People Page
- Step 4: Insert Title and Biography
- Step 5: Upload a Photo
- Step 6: Edit the Photo
- Step 7: Fill Out Personal Details
- Step 8: Fill in the Rest of the Boxes
- Step 9: Upload CV and Include Websites
- Step 10: Select Section from the People Categories and Publish
-
Step 1: Login to the Departmental Website
Use your WordPress credentials to login to the departmental website. This username and password is not the same as your MyUCLA credentials. If you don’t have a login for your departmental website, reach out to your department’s SAO.
You will only be able to access WordPress if you are wired into the UCLA network or using a UCLA wireless network (eduroam, UCLA_WiFI, UCLA_WEB). If you are off-campus, you will need to use the UCLA VPN or proxy server.
-
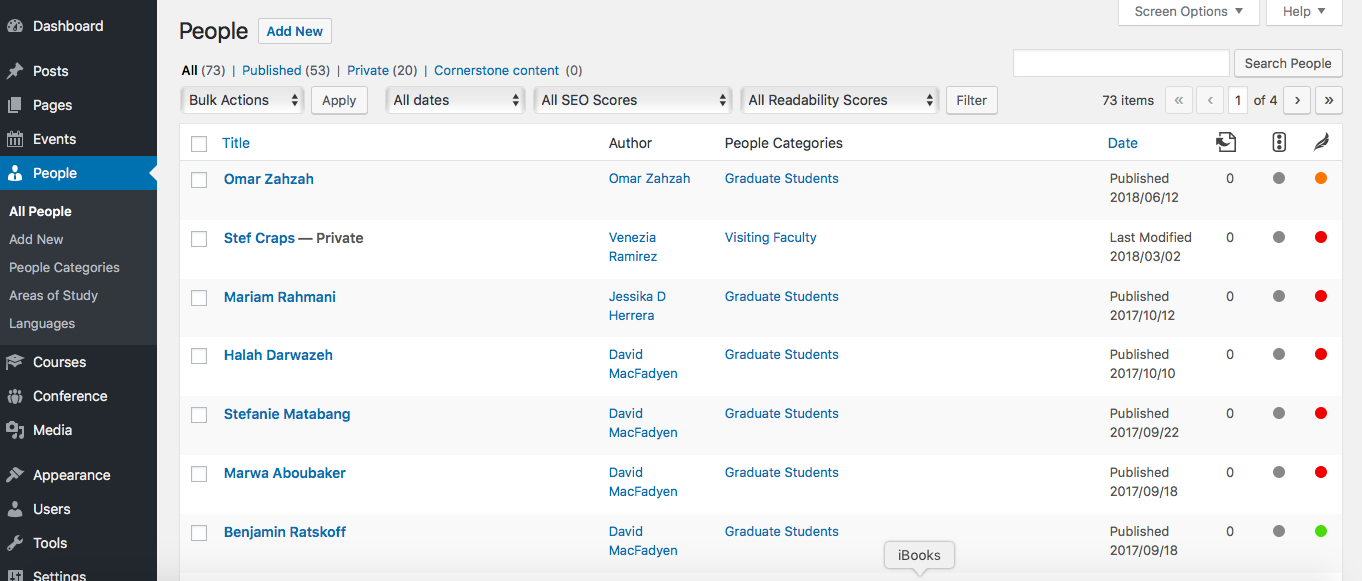
Step 2: Navigate WordPress Homepage
On the WordPress Homepage, go to the People portion of the dashboard.

-
Step 3: Navigate the People Page
On the People page, you can add new pages and also edit existing ones by clicking on the person’s name. You may see other types of pages, but you will not be able to edit them. From here, select “Add New.”
-
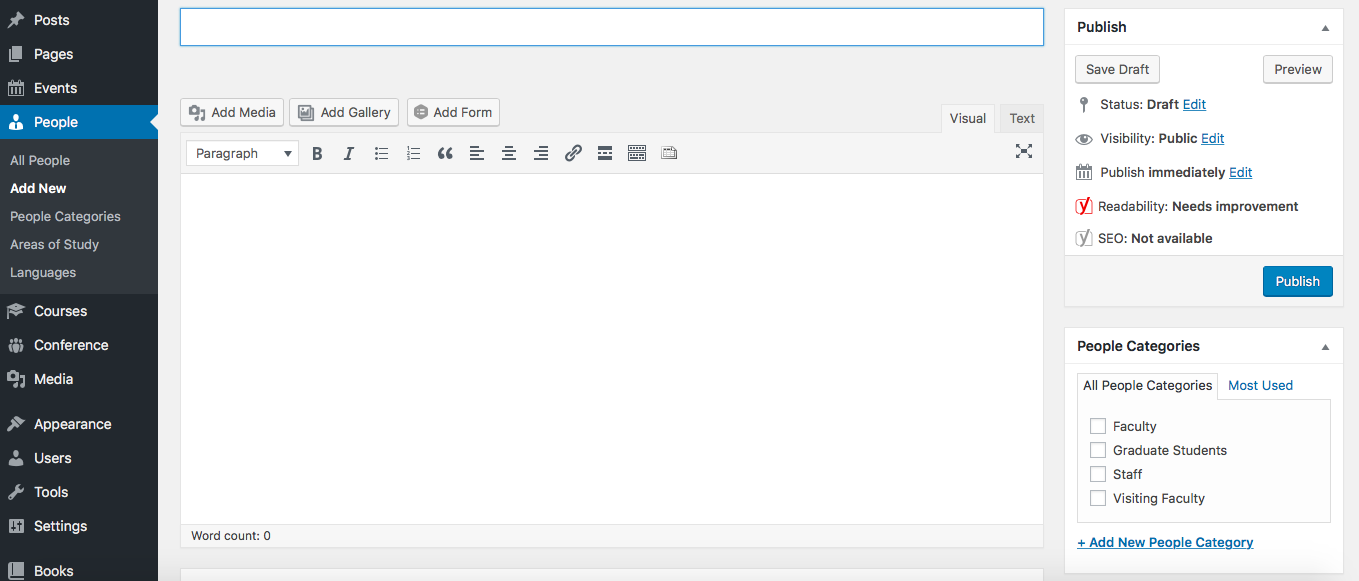
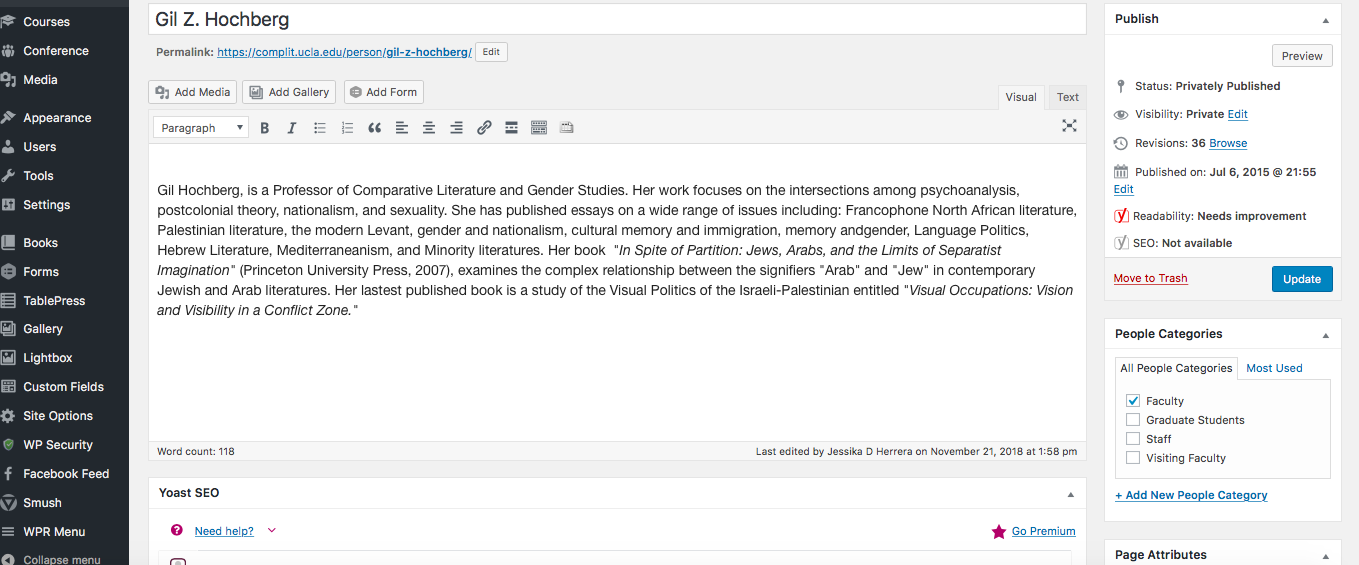
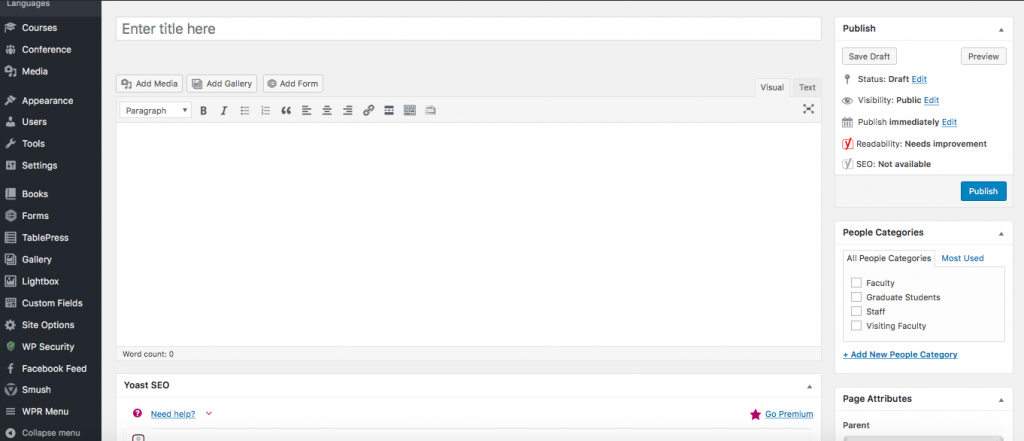
Step 4: Insert Title and Biography
Add their full name to the blank “Enter Title Here.” If the person has provided you with a written paragraph about themselves, this would go in the main paragraph box.
When filling out the informational boxes, you can refer to this text elements study guide for tips on headers, list types, and embedding images and links.
-
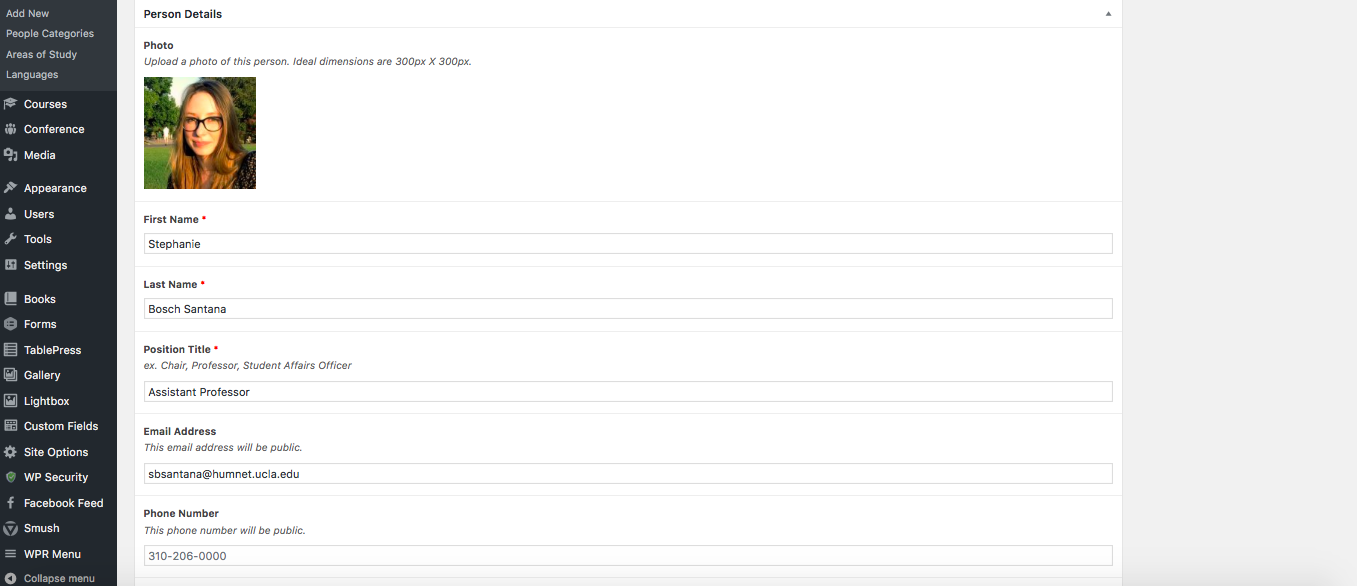
Step 5: Upload a Photo
If you want to insert an image onto a People page on your website, please note that unlike all other images on the website, the display size of the image you place for each person is already predetermined in regards to display size. To add an image:
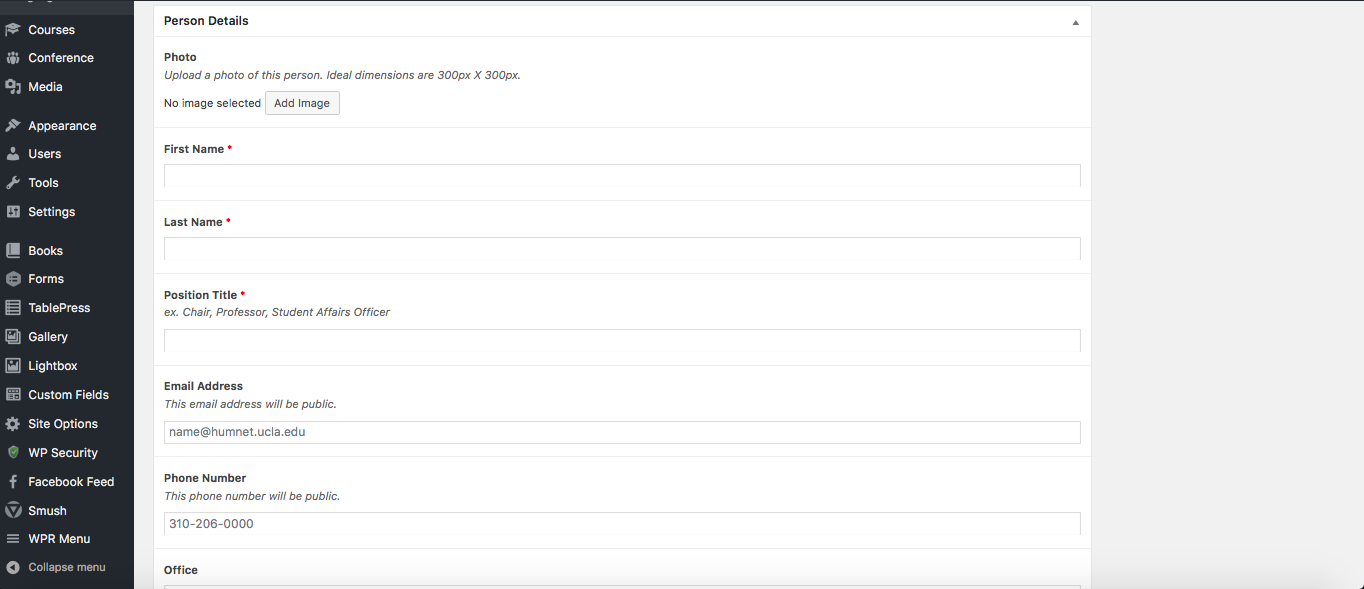
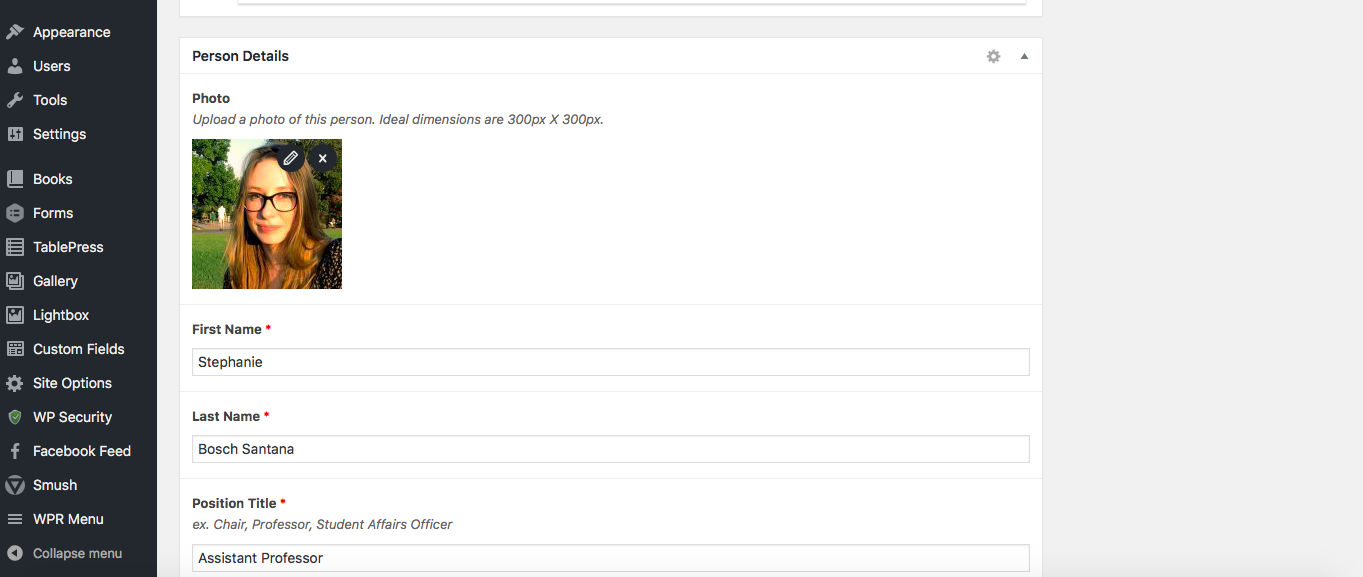
- Scroll down past the main paragraph text box to Person Details.
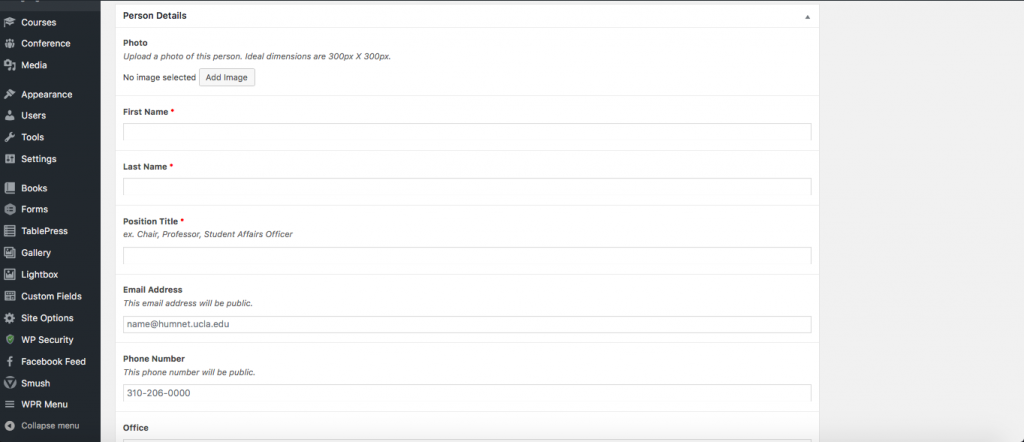
2. Under Photo, select “Add Image.”
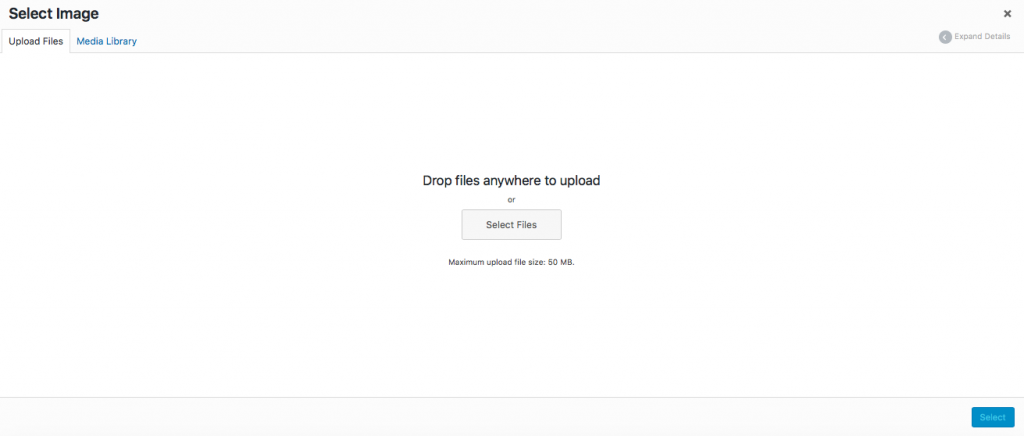
3. You can Upload Files from your computer and the image will appear in the Media Library. Find the image you want to insert and select “Insert to page.” If you have trouble adding an image, the training manual provides assistance on how to upload photos to the media library.

4. Select Preview in the box on the right to view the photo.
 Sometimes when you upload a photo, it will appear distorted or will be cropped incorrectly. If you need help, visit this page on how to fix distorted and cutoff images.
 -
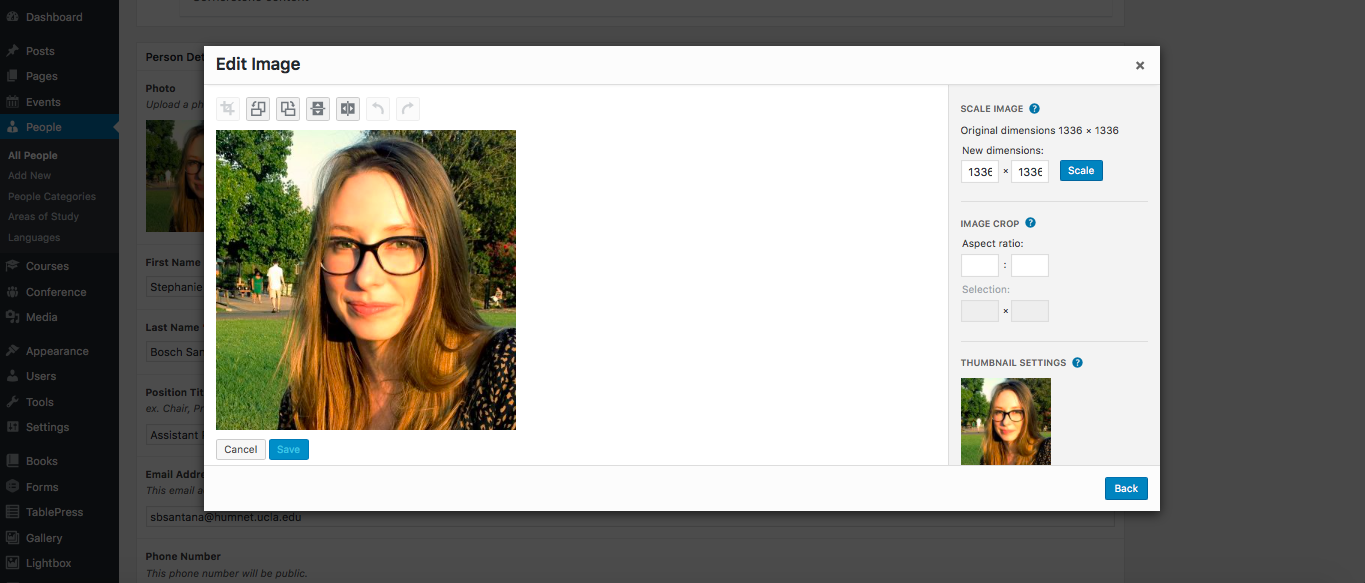
Step 6: Edit the Photo
Once you’ve inserted media into the page you can still easily manipulate the way the image displays:
- Click once on the image within the page and a pencil/x will appear – select the pencil to edit (clicking X will delete the photo so be careful!) – then select “Edit Image” from within the display box.

2. The first four icons displayed will allow you to adjust the alignment of the image.
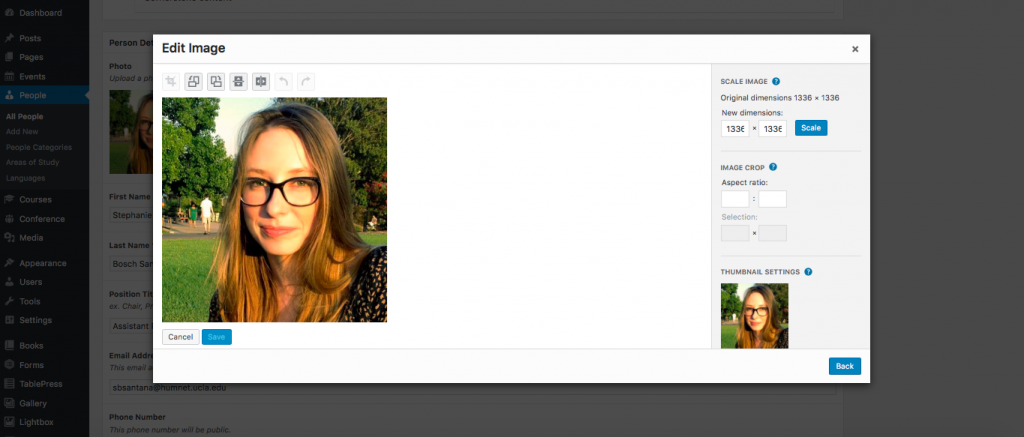
3. If you wish to crop the photo, there is the option to do this. If you are unsure how, please review the training manual on how to crop images.
4. Again, clicking the X at the beginning of the process will allow you to delete the image from the page.
5. Make your adjustments and select “Save.”
-
Step 7: Fill Out Personal Details
Scroll down and you will see fields marked with asterisks – these are the required fields that must be filled out for each person to have them appear on the website. Often the required fields are: First Name, Last Name, Position Title.

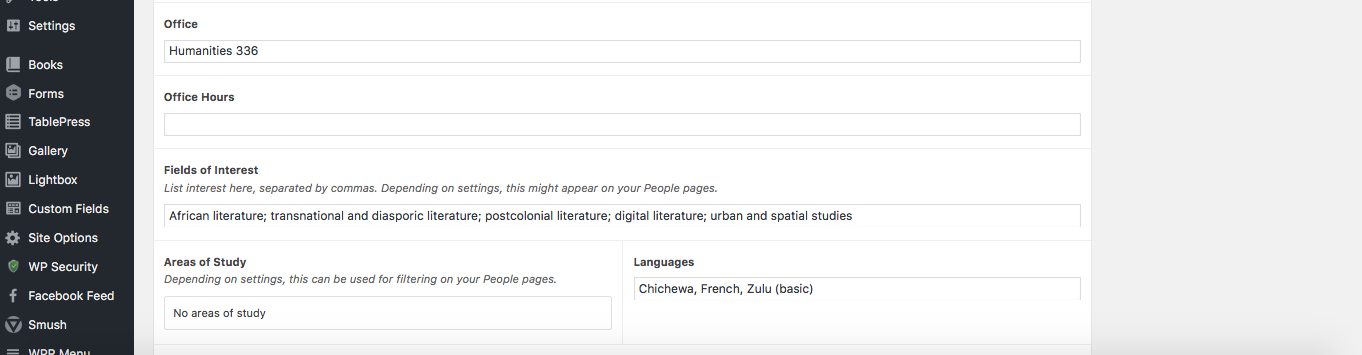
Once the required fields are complete, you can basically fill in all fields that the person provided you information for (i.e. office hours, research). Many of these boxes will allow you to add styling such as bullet points, shading, etc. – please try to keep styling consistent throughout the people section of the website.
If it is not a required field marked with an asterisk, it will not appear on the page. For example, if you leave “Office Hours” blank on the back-end, the section will not appear on the webpage.


-
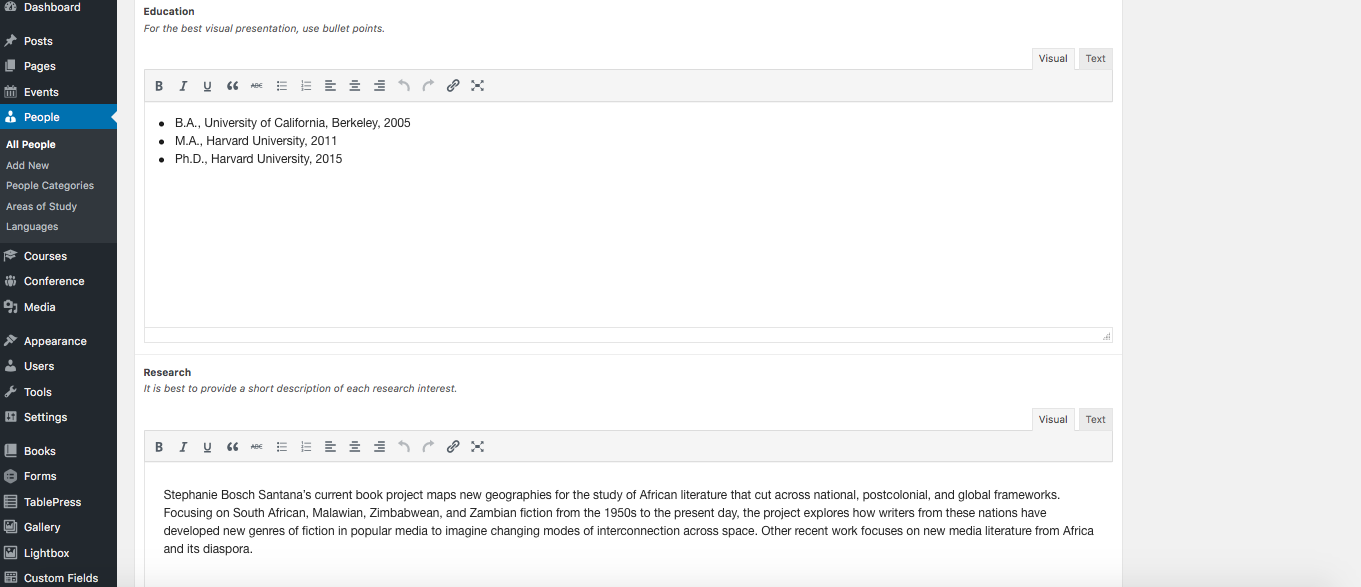
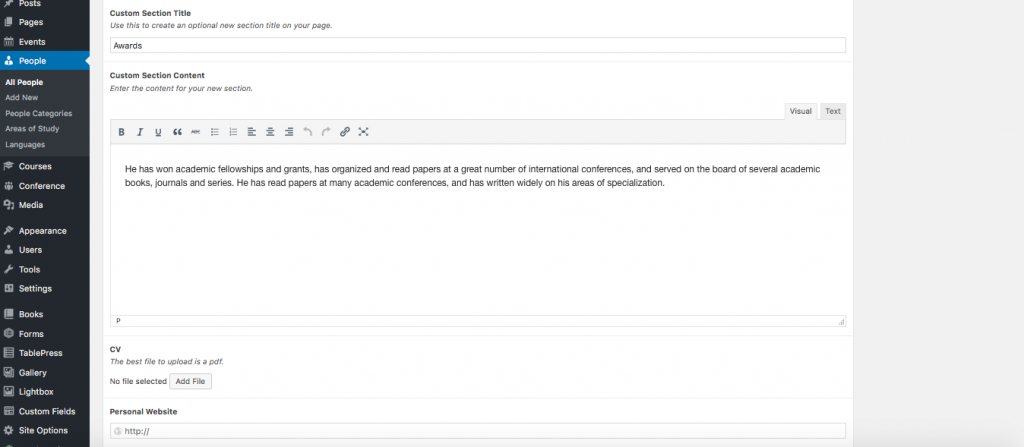
Step 8: Fill in the Rest of the Boxes
After filling out the personal details, scroll down to the larger text boxes labeled Education, Research, Books, Articles, Dissertation, Courses, and Custom Section Title.
- For the best visual presentation, we recommend using bullet points for Education, Articles, and Courses.
- For Research, include a short description of each research interest.
- To include Books, you need to upload them to the Books section on the Dashboard.

For Specific Customized Title/Content, many people choose to turn this into a section that lists Awards or Conferences.
-
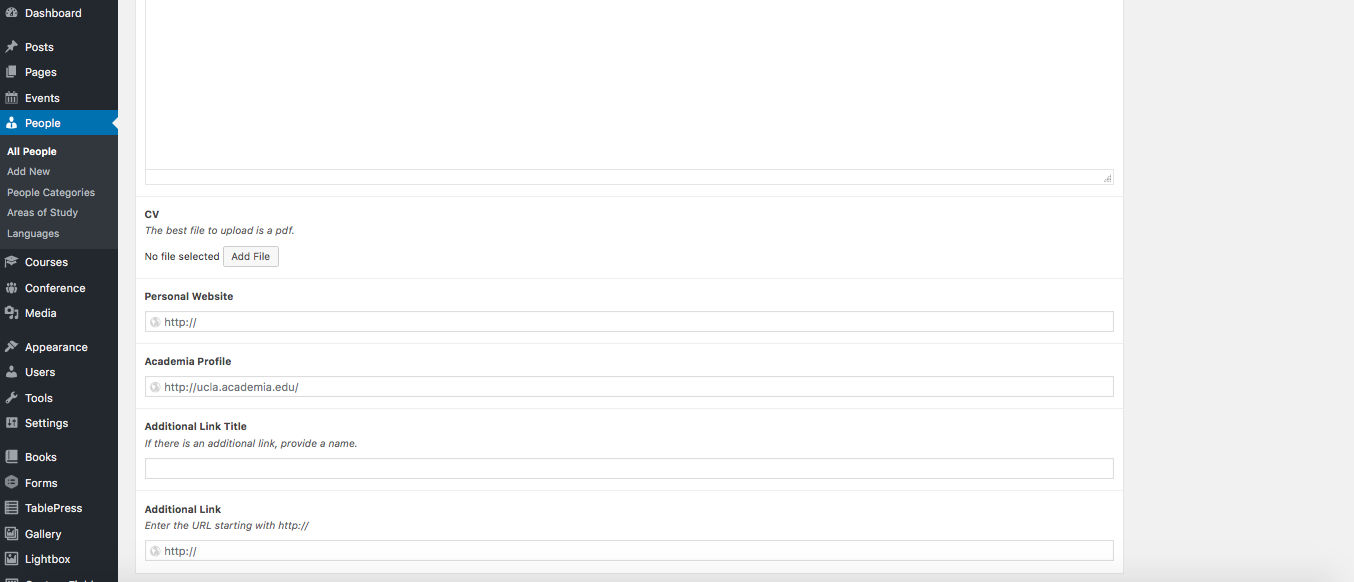
Step 9: Upload CV and Include Websites
Towards the bottom of the page you will notice that you’re able to add personal websites and CV pdf attachments (which will have to be uploaded and be apart of the Media Library).
-
Step 10: Select Section from the People Categories and Publish
It is very important that you select from the People Categories whether the person is Faculty, Staff, Visiting Faculty, or a Graduate Student. This determines what section of the People page that person will appear on.
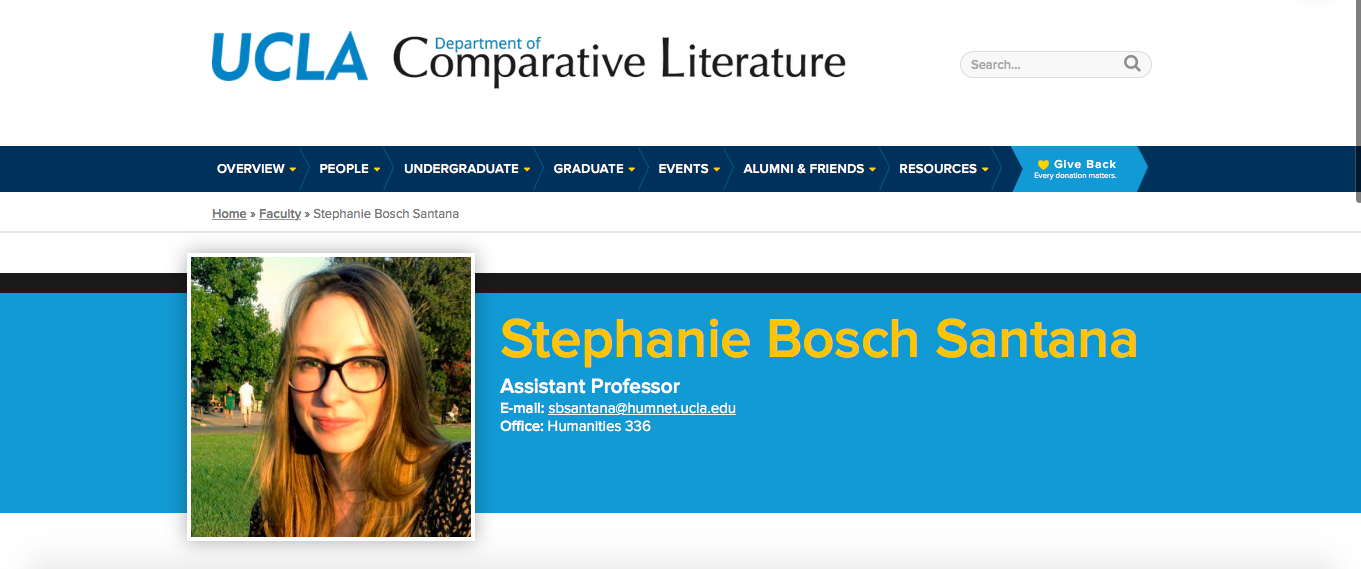
Once complete, either preview the page to see what it will look like on the website or publish the page.