
By CDH Guest Author on February 5, 2019
Written by Megan Reusche
You’ve completed your study, you’ve written your research paper and now it’s time to present your work to your fellow colleagues and classmates. Whether you’re looking to present your research paper during class or at a conference, here are a few tips that you can use to design an interactive and informative research presentation using the latest technology and software.
Top websites and apps to create your presentation
While PowerPoint and Google Slides are reliable and user-friendly, they are not the only applications you can use to create presentations. If you’re looking for a new and innovative way to present your research, these programs are for you:
Zoho Show
Zoho Show is a great option because you can collaborate on the presentation with your colleagues and leave comments on the sidebar of each slide. This software is ideal if you plan to present to a group of people in separate locations. You can send your audience a link with your slides so they can download a copy for themselves, or you can broadcast your presentation with a live stream so you can interact with your audience. During a broadcast, you can even take comments and answer questions in the chat panel. Download the app for your smartphone and other electronic devices so you are ready to present wherever you may be.
Canva
Canva has a lot of unique design-focused elements that make it perfect for creating presentations. Instead of using Photoshop to create graphics for your slides, with Canva you can create your graphics and presentation all in one user-friendly program. With stock images, formatted text boxes, premade graphs, and the ability to customize each item of your graph individually, this program makes it easy to personalize your presentation.
Adobe Spark
If you’re looking for something a little non-traditional, use Adobe Spark to create a video presentation rather than individual slides. You’re able to combine video clips, photos, visual themes and sound with text overlay to create a unique presentation that can auto-play during your talk. If you download the app, your presentations will sync across all platforms, so if you’re working on the web and have to leave, you can continue working on-the-go with the mobile app.
Deckset
While most presentation programs focus on the design elements of your slide (layout, text, image), Deckset saves you a lot of time by allowing you to write your presentation on a text document that transfers over to the program and creates the text on your slides. You no longer need to waste your prep time fixing font sizes or copy-pasting your text over to your presentation. Deckset also features 19 preset themes, the ability to create and share your own original theme, rehearsal mode and hassle-free code samples that make formatting your presentations so much easier. While this program does have a one-time purchase fee of $29, they offer a free trial and a 50% discount for students, teachers and staff members of educational institutions, which makes this program definitely worth the investment.
Formatting the presentation
It’s important that your presentation is easy to read and easy to follow. Keep these tips in mind when you design the background and format of your slides:
- Use a simple, solid colored background throughout the presentation
- Make sure that the font color contrasts with the background
- Limit how many colors you use
- Use a standard text like Times New Roman, Arial or Calibri
- Don’t use less than 24 point font
- Capitalize words and phrases only for emphasis
- Include keywords on your slides
- Stay away from long, informational sentences
Visuals are key
Using visuals helps you use less text on your slides and gets viewers to visually understand the impact and results of your research. Let your graphs do the work so all you have to do is highlight a few keywords that represent the most important feature of each graph.
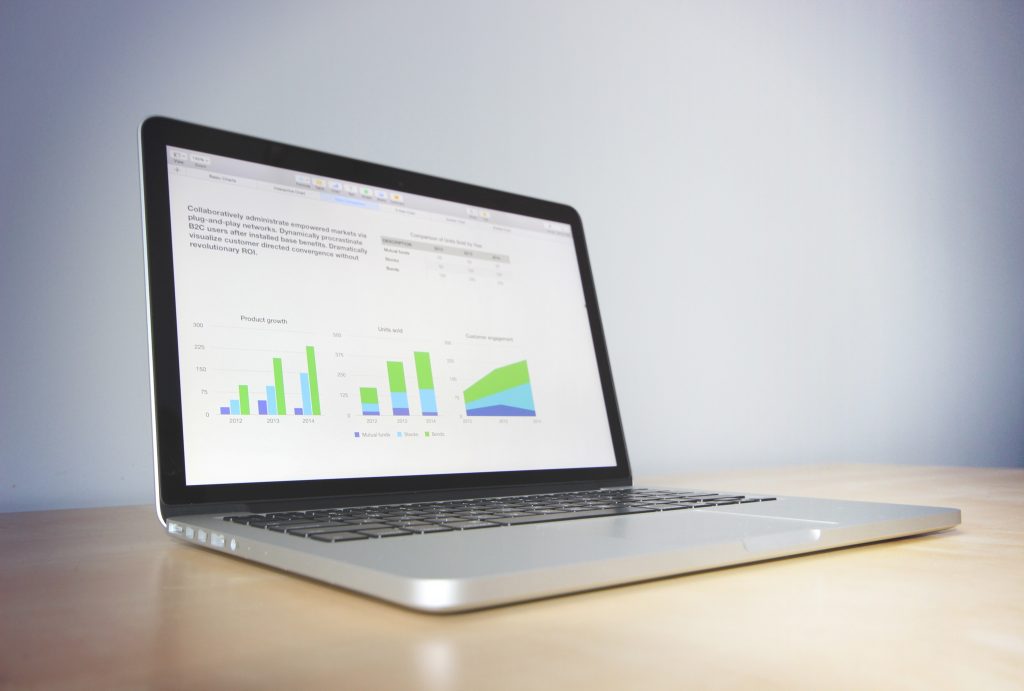
The graphs in the image above are ideal because:
- The text is an appropriate font
- The colors are easy to see and differentiate between
- The bars are simple and easy to interpret
Videos are another great type of visual to use, but make sure that you properly embed a video in the presentation in case the wifi crashes and you are unable to load the video from the web. There are a lot of resources online that can refresh your knowledge on how to embed YouTube Videos in PowerPoint 2010, and any other troubleshooting issues or questions you may have regarding embedded videos.
Optimize audience engagement with the latest apps
As a presenter, it is important to keep your audience engaged throughout your presentation. One way to make your talk more interactive is to incorporate live audience polling software. This software allows you to gather opinions from the audience in real time and gather their opinions. This will also facilitate more discussion by giving timid audience members a chance for their voice to be heard.
Sli.do
Slido Switcher is a great resource for Mac users. Simply download the software, let it run in the background and begin your presentation. You will be given a unique event code for your presentation and the audience will go to slido.com and type the code in. From there, the audience can respond to your poll and you will receive immediate results that you can discuss during your presentation.
Poll Everywhere
With Poll Everywhere, you can ask the audience a question and watch as a chart is created with their responses. The software allows you to generate a wide variety of questions, including multiple choice, open response and rank order. You can customize the chart with color, font and images, and it can be embedded into your presentation or viewed on a separate web browser. All you need to do is provide the audience with the poll’s URL and they can respond through their web browser or through SMS texting.
ParticiPoll
ParticiPoll is designed specifically for PowerPoint. Simply install the PowerPoint add-in on your PC or Mac and begin designing your poll. Insert the poll into your slides, start your presentation, send your audience to the voting page and single-click the remote to load your poll results. Remember to include the voting page address or QR Code on the next slide. You can even review and download the voting data after the presentation is completed.
Adjusting to the presentation space
As important as it is to create compelling slides, your success also rides on being able to share their rich features and content with your audience. Wherever possible, find a way to get access to the presentation space ahead of time and check on the following:
- Head to the room early to see the seating arrangement, microphone, lighting and presentation equipment and setup. If there are remote attendees, make sure you can share your slides with them and they can also see, hear and/or interact with them.
- Do a quick run through of the presentation to check for volume and acoustics, and to make sure embedded videos play.
- Visualize what you want your presentation to look and feel like based upon the room’s setup: Are you speaking on the stage? How far away is your audience? How will you create intimacy between you and your audience?
Most of our last-minute stresses arise from not being able to properly display our presentation onto the projector. In order to prepare for this, be sure to bring laptop display adaptors with you, including an HDMI to VGA or a USB to VGA adaptor. If your adaptor doesn’t fix the connection, there might be a few other reasons why the presentation cannot be displayed. Sometimes all you need to do is toggle with display mode or fix loose cables to solve the issue.
This article is intended to help you design and execute a research presentation for the Humanities using the latest software and technology. Remember to practice, practice, practice your presentation before the big day and if possible, go through a trial run in the room where you’ll be presenting.
References:
- “The Best Presentation Software in 2018” Zapier
- “How to Embed YouTube Videos in PowerPoint 2010” Lifewire
- “10 Things You Should Do In The 15 Minutes Before a Big Presentation” Business Insider
- “Six Common Problems With Displaying Your Presentation” Think Outside The Slide
- “How To Get Instant Feedback From Your Audience” Presentation Guru
- “How to Create an Oral Research Presentation” UCSB McNair Scholars 2011 Summer Program
Photos courtesy of Pexels and Unsplash