Groups and Groupings
What are Bruin Learn Groups?
Canvas has two types of groups:
Self sign-up groups: These can be created by either an instructor or a student and are self-organized by students.
Groups organized by a student cannot be used for graded work, because students can belong to more than one group at a time.
If you would like to contact students who have not joined a group, you can message them by following these instructions: https://community.canvaslms.com/t5/Instructor-Guide/How-do-I-message-students-who-have-not-signed-up-for-a-self-sign/ta-p/1105
To prevent students from switching groups, you will need to uncheck the “Allow self sign-up” box in your group settings: https://community.canvaslms.com/t5/Instructor-Guide/How-do-I-prevent-students-from-switching-groups-in-self-sign-up/ta-p/689
Group sets: These are groups that the instructor creates to use for graded assignments.
In group assignments, all students should be assigned to groups before the assignment is published. Grades and submissions may be affected for students who were not in a group at the time of assignment submission but who were later added to a group.
Creating a Group set
You can do this manually, automatically, or by importing groups by uploading a CSV file.
On your course site, click on the People tab on the left hand side of the screen.
Click on the +Group Set button in the upper right hand corner of the screen.
Name your group set.
Set the Group Structure settings.
By checking the “Allow self sign-up” box, you allow students to choose their own groups. Note that they will be limited to joining one group per set. However, they can move between groups as long as this setting is enabled.
“Split students by number of groups” allows Canvas to divide up students automatically according to how many groups you wish to have. It will try to put the same number of students into each group.
“Split number of students per group” allows Canvas to create groups with the number of students you indicated in each automatically.
If you choose “I’ll create groups later,” this gives you the option of adding groups manually by using the “+ group” button in the upper right hand corner of your screen OR importing groups by uploading a CSV file. See the steps in the next section for instructions on how to do this.
If you are doing the latter, click on the “+ import” button.
Check “Require group members to be in the same section,” if you would like for this to be the case.
Set a group leader if you would like for someone to be the point person on the project, and be sure to indicate if you would like for the first student who joins or a random student to be the group leader. There does not seem to be a way to assign a group leader.
Once a group leader has been selected, their name will appear next to the name of the group when you are viewing the groups in a group set.

For more on group leader permissions, see this link: https://community.canvaslms.com/t5/Instructor-Guide/How-do-I-assign-a-student-leader-to-a-group/ta-p/944
Note: If you wish, you can move students from one group to another in two ways:
Click on the student’s name and drag and drop them into a new group.
Click on the three vertical dots (the options icon) on the student’s name. Then, select move to and choose the group you would like to move them to from the dropdown menu.
Note: students will be able to see all of the existing groups, but they will only be able to view the Group Homepage for the groups they are a part of via the visit link.

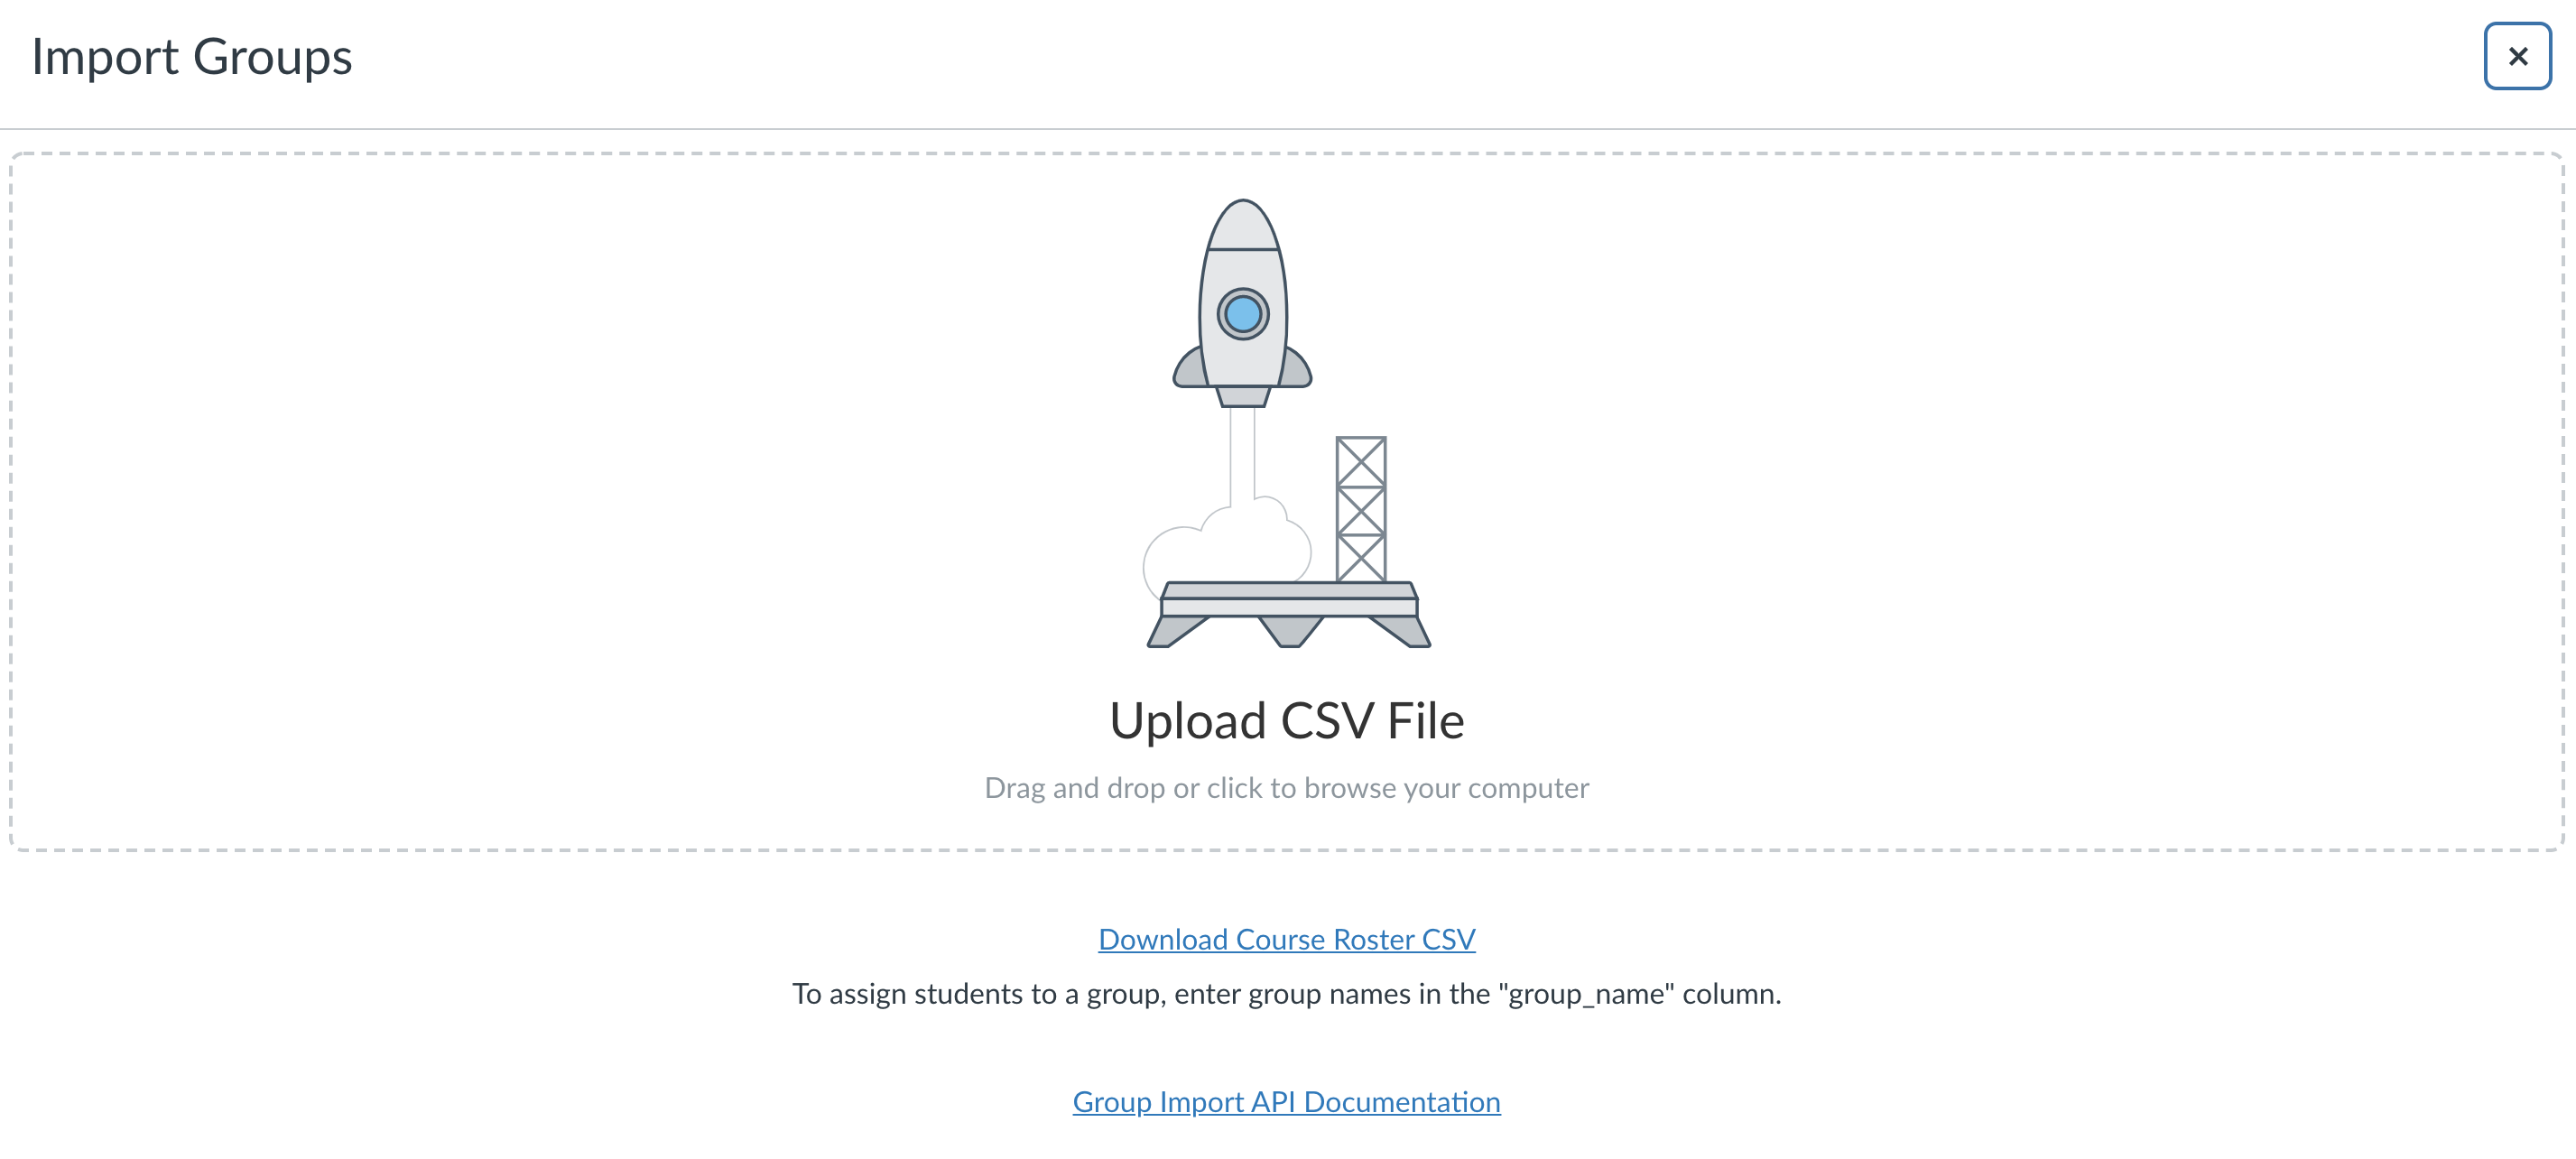
Creating Groups by Importing a CSV file
Add a group set by following the instructions in the previous section.
Choose the “I’ll create groups later” option.
Click on the “+Import” button.
Click on the download the course roster CSV link.
Fill in the “group_name” column with the names of the groups you would like to assign (e.g. Group 1, Group 2, etc.).
Upload the CSV file where indicated.
Note: All students should be enrolled in or invited to the course before group CSV files are uploaded. It is not possible to add to or update the course roster using the “add groups” function. Students whose names/IDs are included in the group assignment CSV but who are not already enrolled or invited to the class will not be enrolled in the course or assigned to a group when a CSV is imported.
Therefore, if users have an empty class and a CSV file listing students and groups, they can bulk enroll students and assign them to groups but must break that processes into two steps. First, they would go to “Add People” and copy/paste one column of student info (email, SID, or Login) from the CSV file to invite all students to the course. If this enrollment is completed successfully, they can follow steps 1-6 above to assign the students to groups according to the CSV file.
Navigating Group Homepage
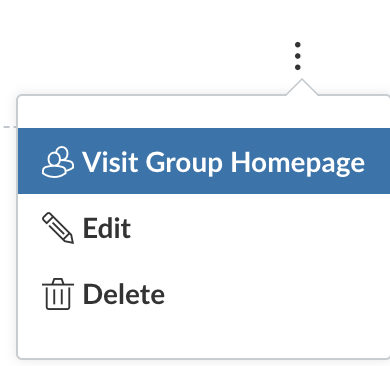
Once you have created the groups, you can view group activities and interact with individual groups via their Group Homepage. You can view a Group’s Homepage by clicking on the options icon for a specific group and selecting Visit Group Homepage.
This is essentially a site within a site for group work. For just each group of students, you can:
Add announcements
Create pages
Start discussions
See who the group members are
Upload files
Partake in collaborations
Note: Embedding Kaltura videos via the rich content editor does not work in group sites because Canvas groups are not really a course so don't pass a course context to the LTI tool. Follow these instructions for a workaround: https://kb.wisconsin.edu/dle/page.php?id=91056
Note: students will also have the options to add announcements, create pages, start and contribute to discussions, see who the group members are (but not edit them), upload files, and partake in collaborations. However, when adding announcements to the Group Homepage, they only have simple settings available to them. They cannot, for instance, attach a file to their announcements or enable liking.
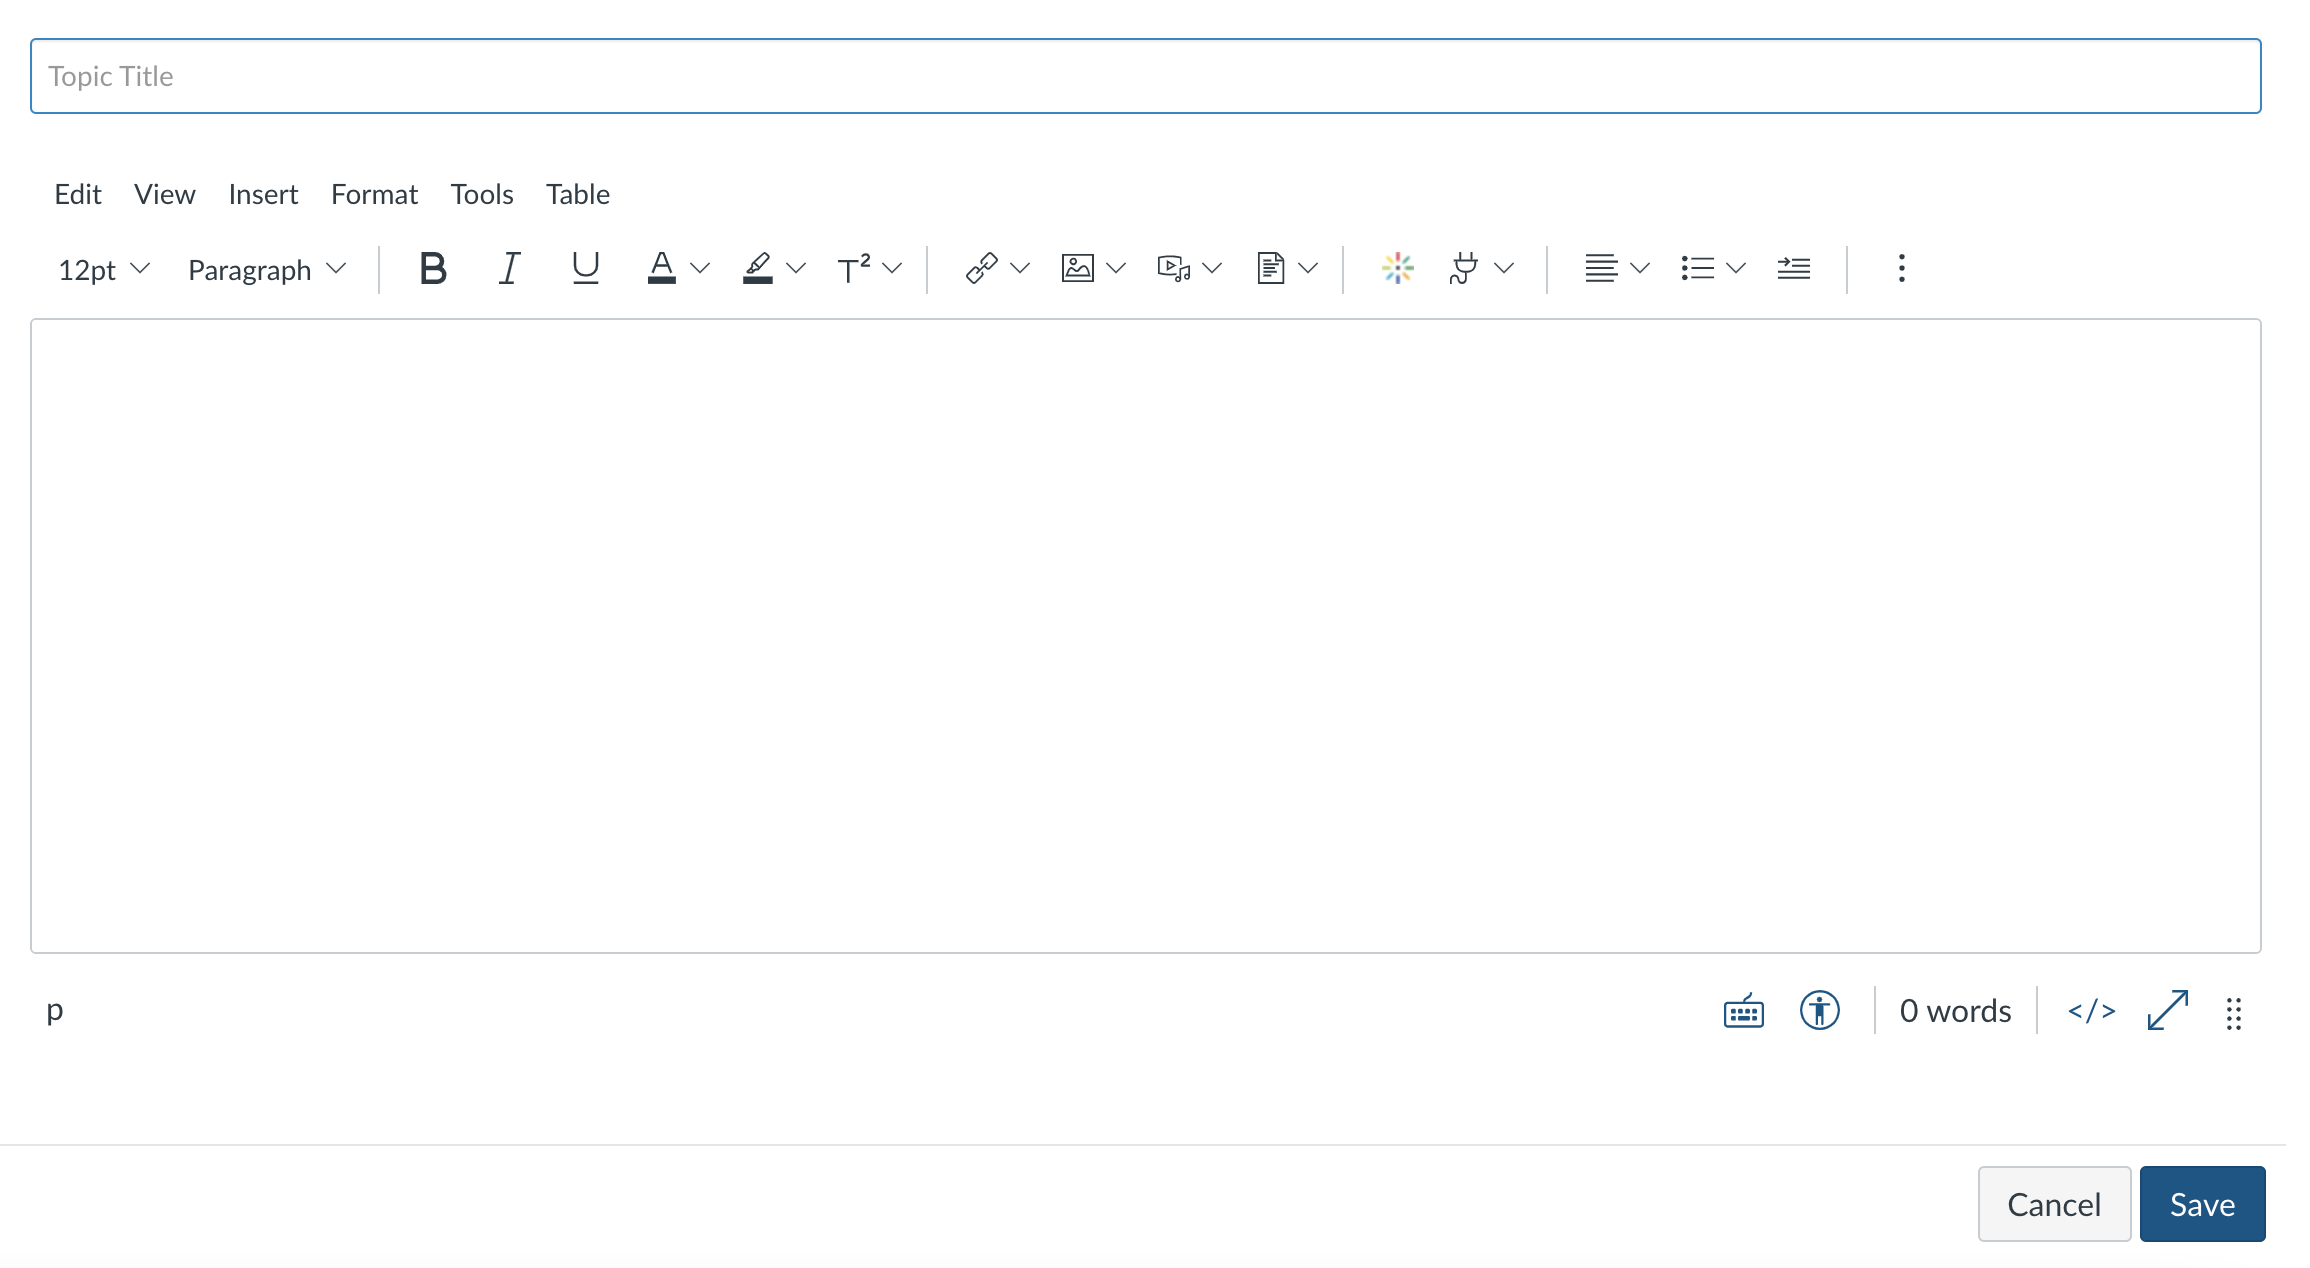
They also have more limited settings when it comes to discussions.

However, students can enable design tools.
Note: Quizzes cannot be assigned to specific groups of students while assignments can be. Sections work properly and broadly.
Bruin Learn Sections
Link to a description of Sections within Bruin Learn: Bruin Learn - Sections (in Setting) - ITG - Instructional Support - Confluence (atlassian.net).
Allow user to interact only with users from their section: https://community.canvaslms.com/t5/Instructor-Guide/How-do-I-limit-a-user-to-only-interact-with-other-users-in-the/ta-p/1211
Cross listing a course: https://community.canvaslms.com/t5/Instructor-Guide/How-do-I-cross-list-a-section-in-a-course-as-an-instructor/ta-p/1261
You can set different event dates for different sections: https://community.canvaslms.com/t5/Instructor-Guide/How-do-I-set-a-different-event-date-for-each-section-in-a-course/ta-p/648
Creating Student Discussion Sections as Individual groups
Unlike in CCLE, Bruin Learn does not auto-create student groups based on discussion section assignments. Instead, these have to be created manually by either the instructor or by a RITC within the Bruin Learn course site. To do this, follow the directions in the earlier section of this documents entitled Creating Groups by Importing a CSV file.
Note: Students who register for the course and are added to the course site after you have manually created the groups will need to be added to the appropriate group manually.