Uploading Files and Folders Using the Box Web Client
Instructions
Click upload button
On your web client, click on the upload button in the upper left hand portion of the screen.
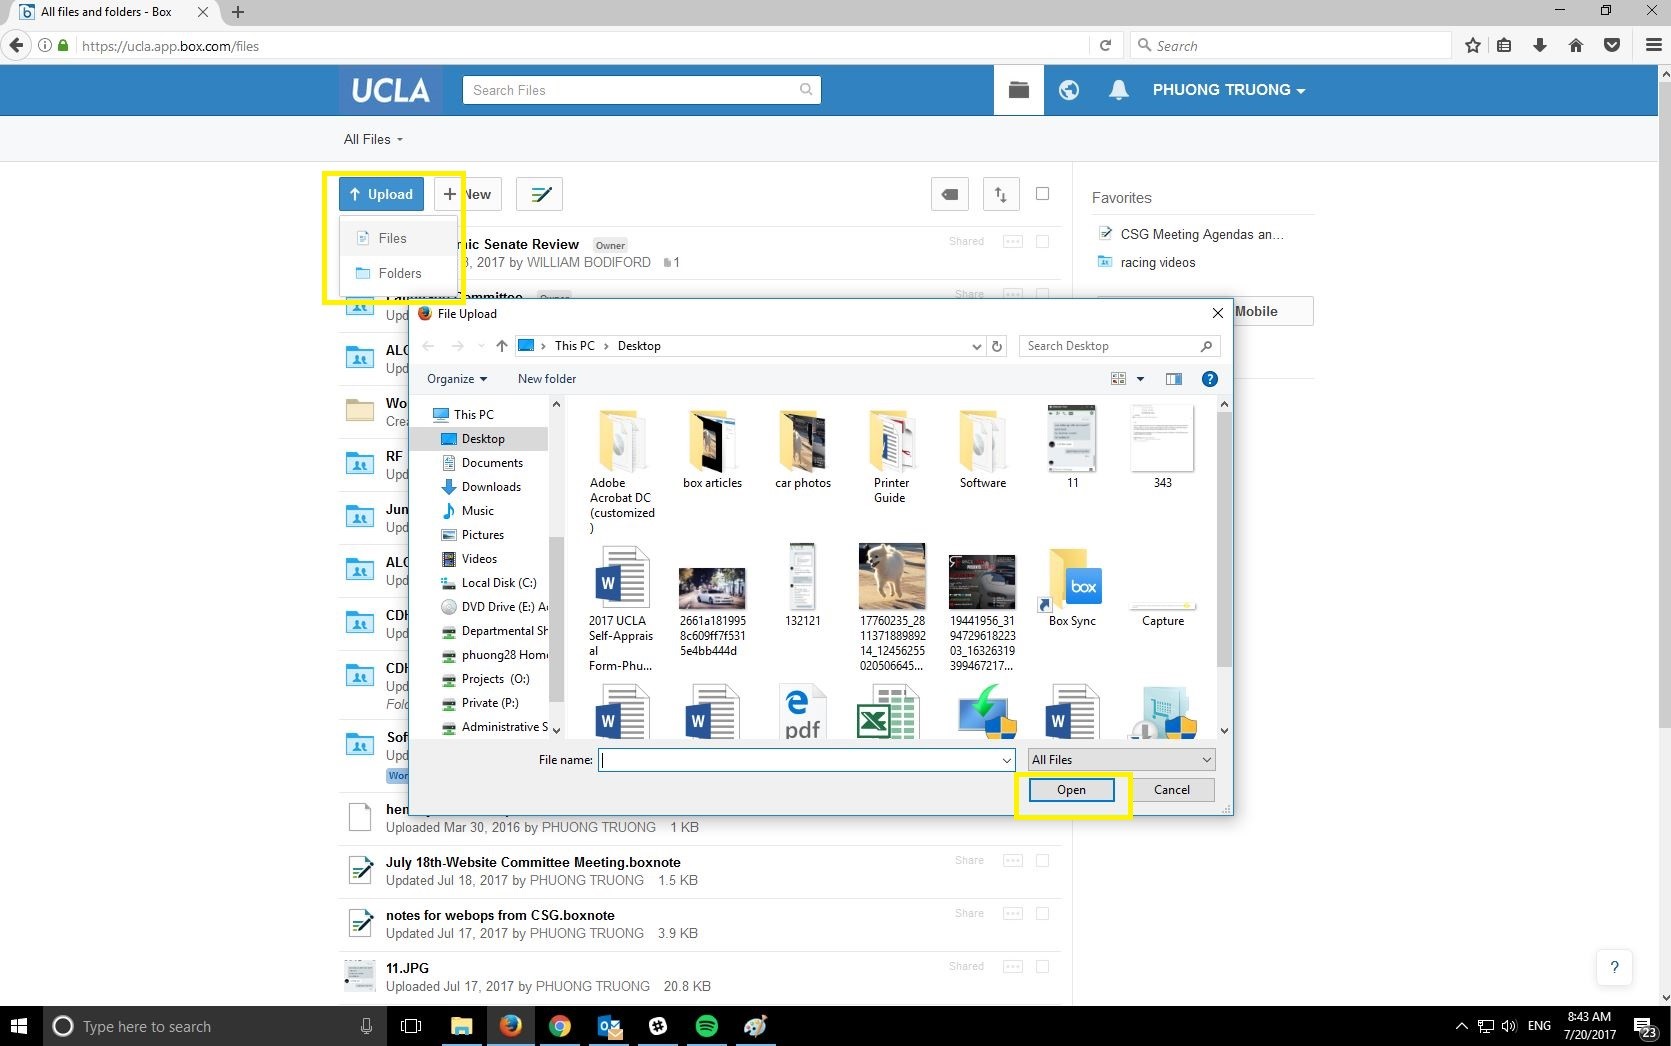
Select file or folder
From the drop down menu, select file or folder. Another window will open, where you will now select the file/folder you wish to upload. Once you pick the file/folder, click open and another screen labeled “upload files” will appear.
Upload file/folder
At this window you can either choose to upload one file/folder or multiple ones.
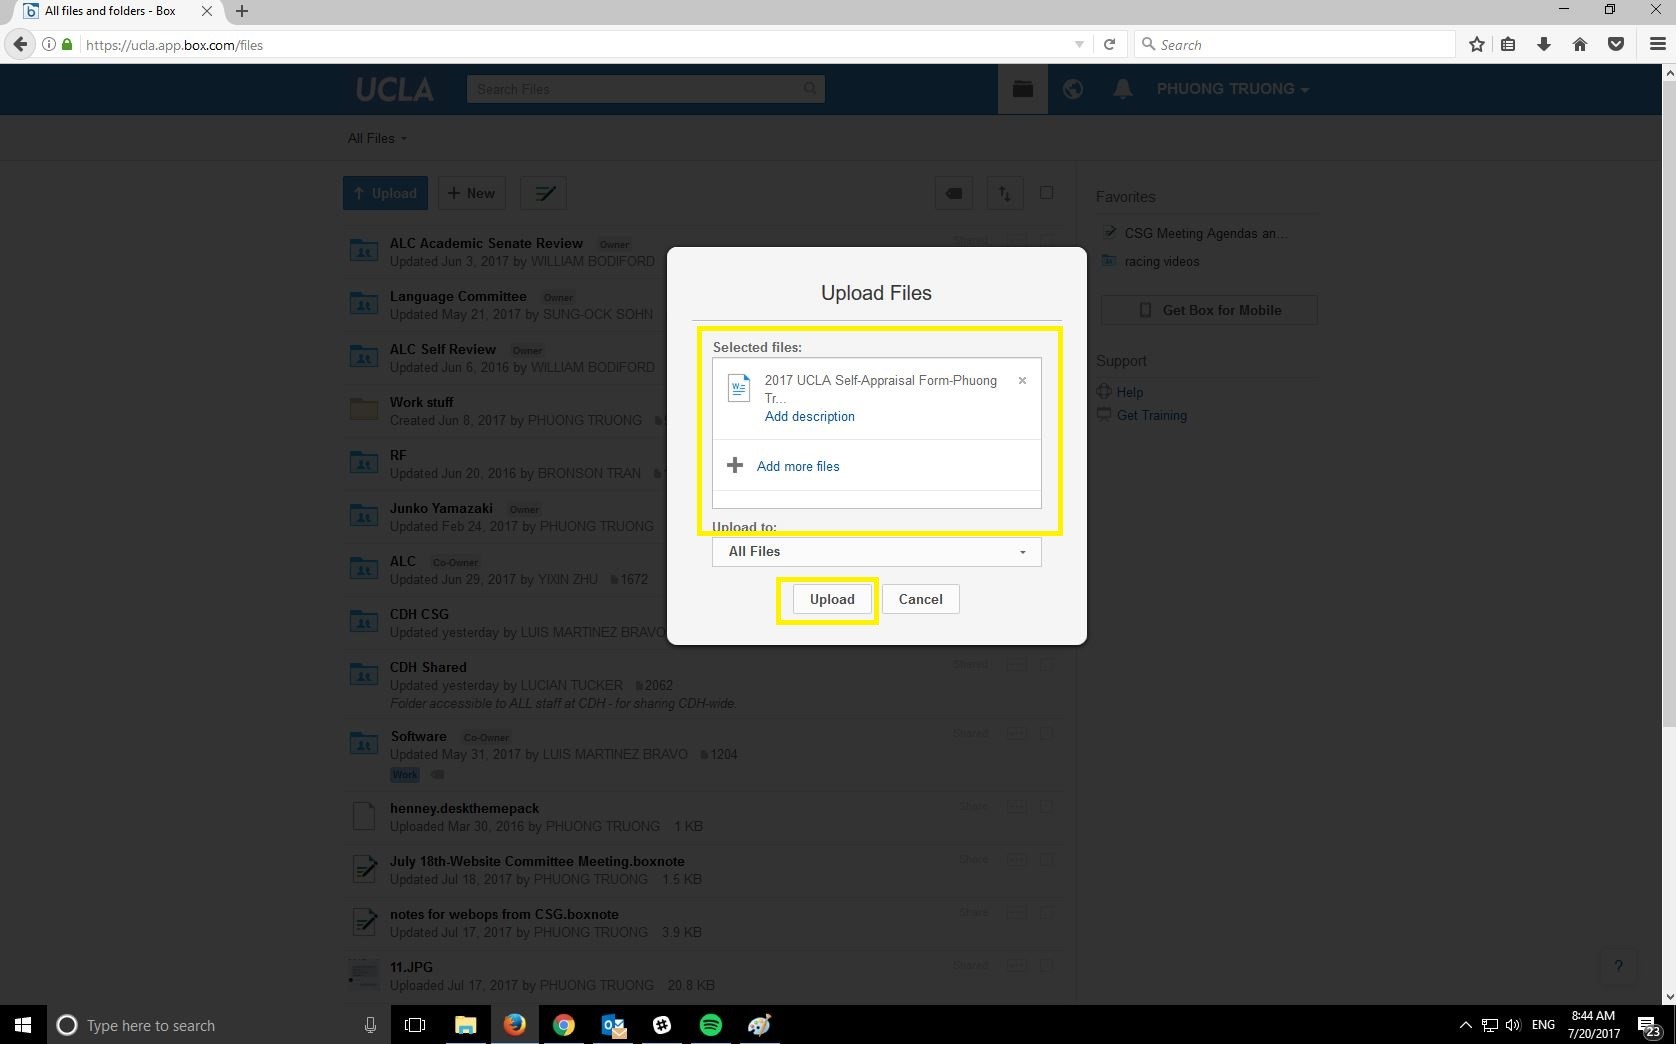
File/Folder location
You can choose to upload the file/folder into its own separate section, or have it uploaded into a existing folder as shown below.

Click upload
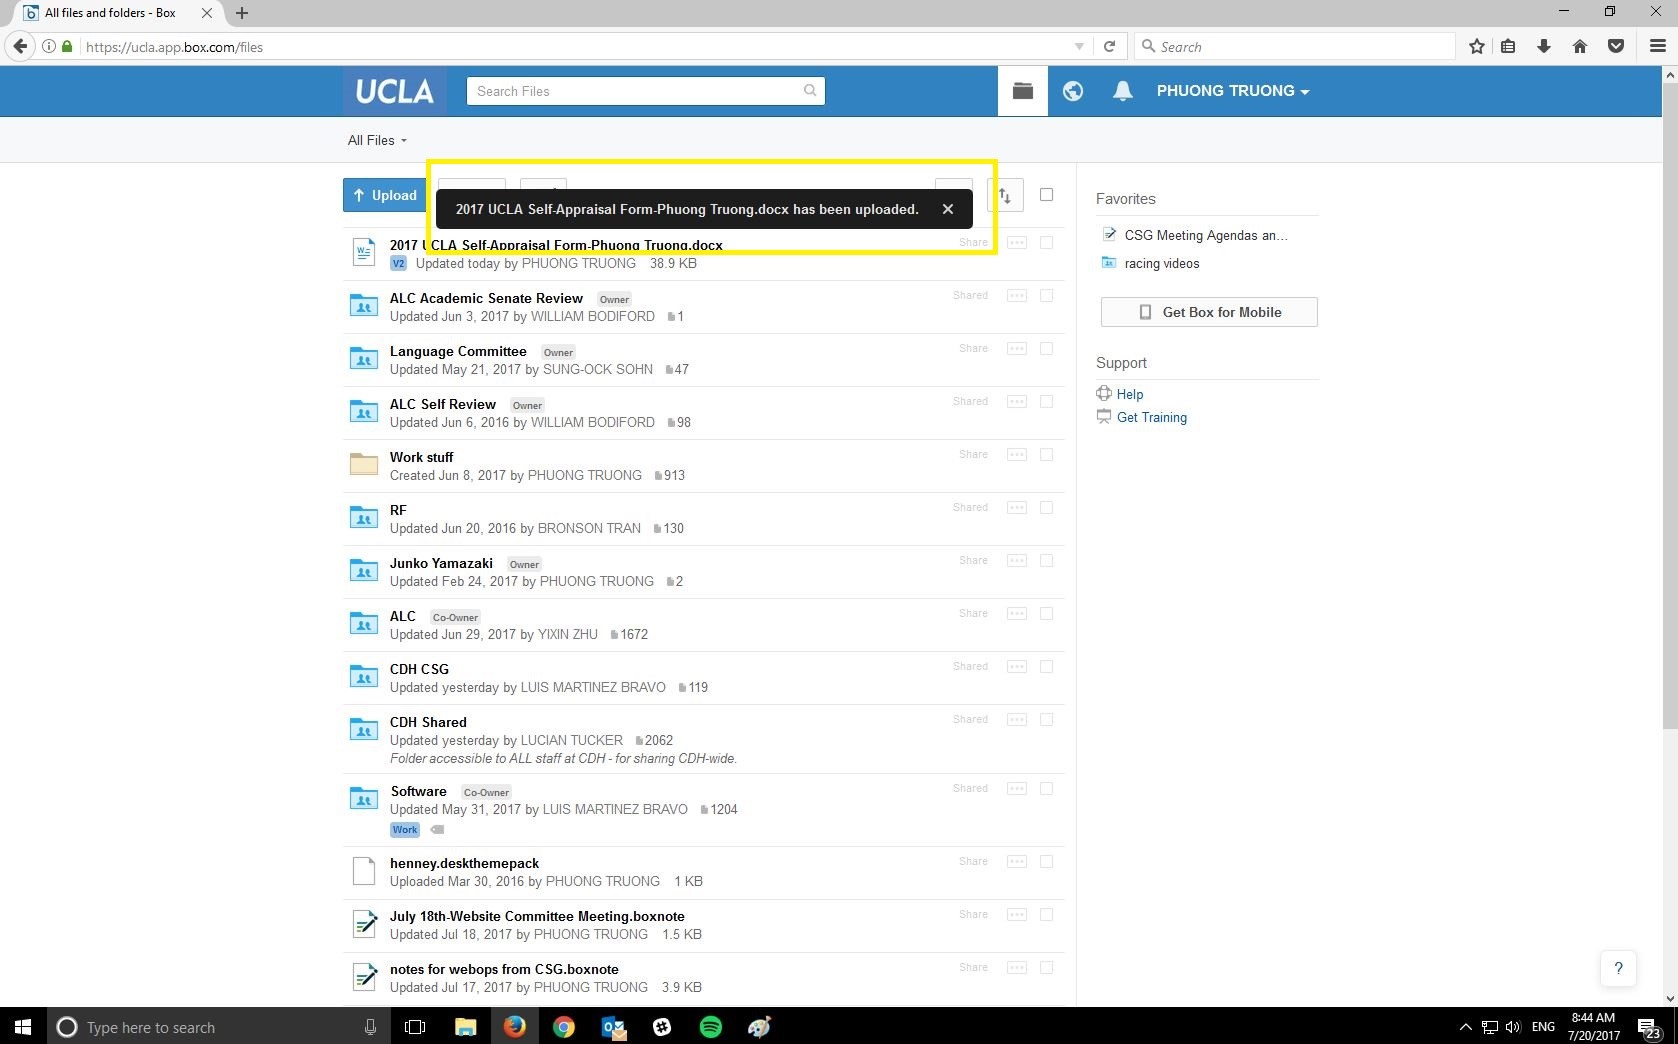
After you have figured out how many file/folders you’d like to upload, click “upload” and the uploading process will begin. Box will notify you when it has finished uploading your file/folder.
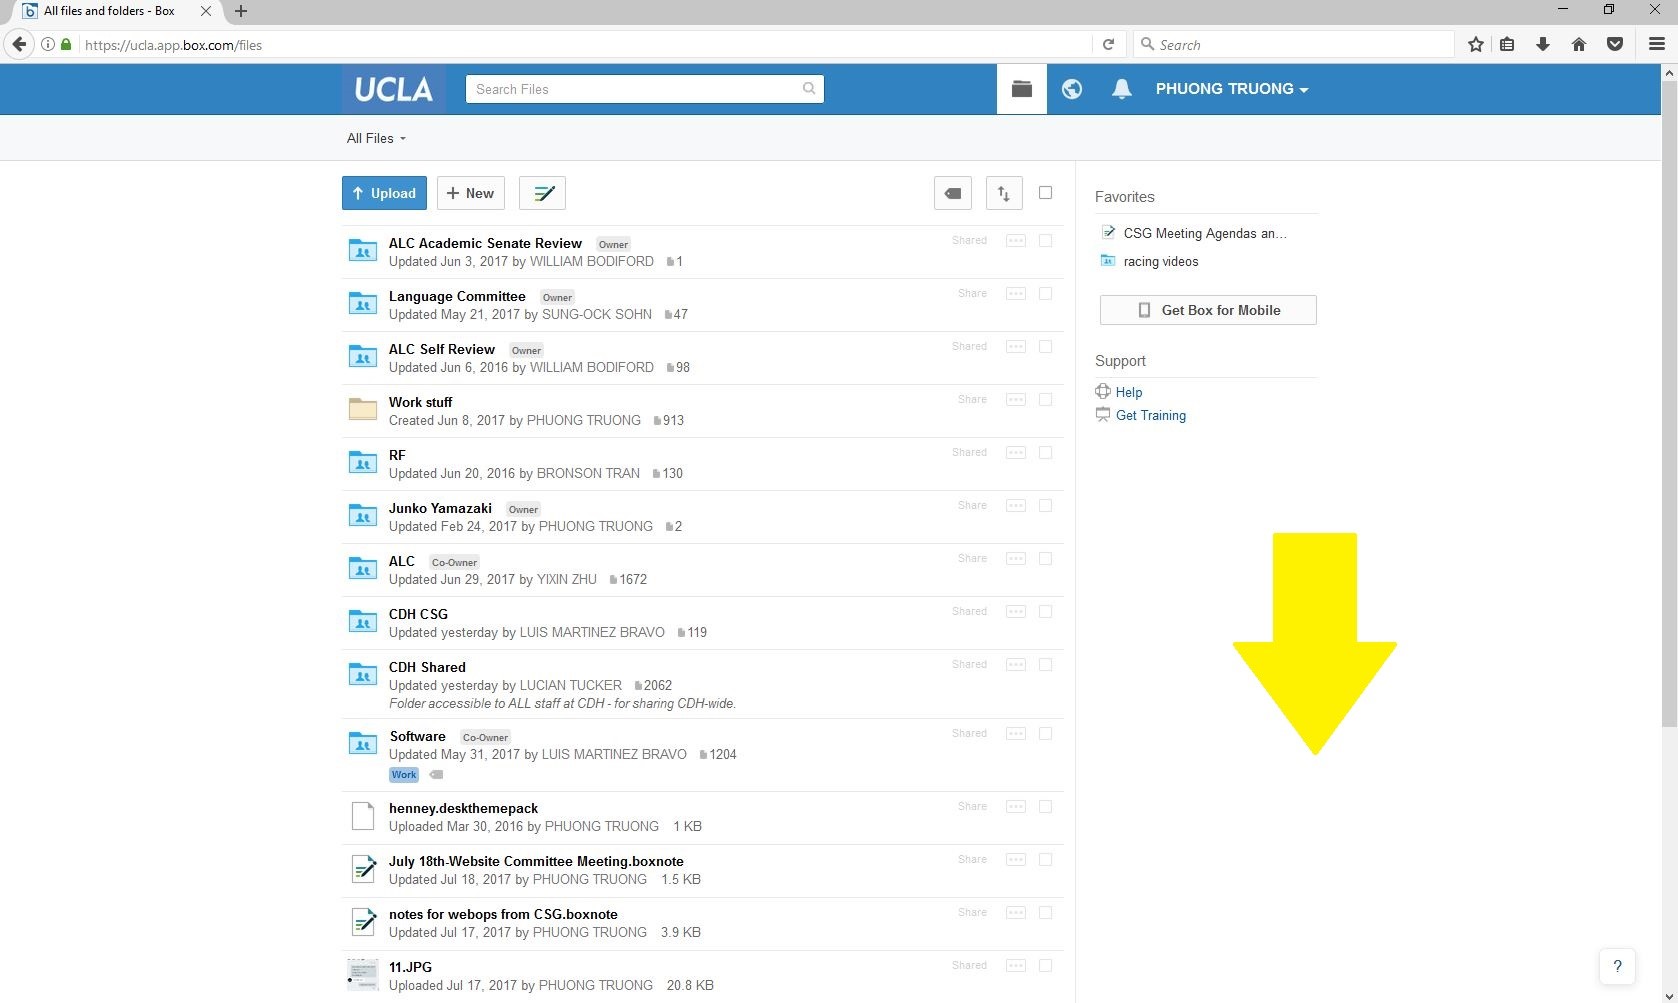
6. Drag and Drop option
Alternatively, you can drag and drop files directly into the web interface. Remember to drag into the general area designated by the arrow in the picture below so that you do not accidentally upload your file into an unwanted folder.